


I just recently returned from a trip to Australia and before I left I made myself a small notebook to take along and today I want to share with you how I made it:

For those of you, who are new to this technique, this is how you go about it:
You will need:
Good quality Kraft card
A spray bottle
A bottle of Glycerine ( cheaply available from chemists)
An embossing folder
Distress Inks in brown tones (I used Vintage Photo and Ground Espresso), and if you want to add patina highlights you will also need a patina coloured art crayon (I used a Cracked Pistachio Distress Crayon).
1. start by making a mix of one part glycerine to approx 5 parts water in your spraybottle.
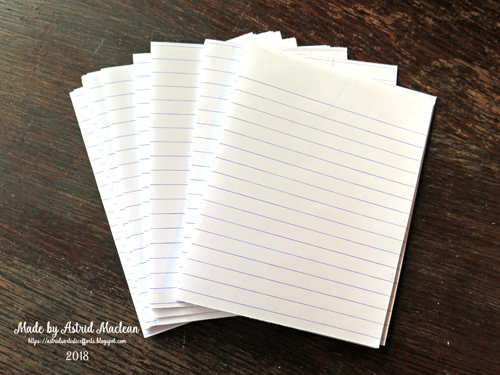
2. Cut your craft card to the desired size to fit around your notebook.
3. Spray your glycerine mix all over your card and then rub it in with your fingers. Do this on both sides. When it is well soaked in, crumble your card into a ball and then flatten it out again. Repeat this process about 3 times, making new creases each time and then rub over the creases with your chosen ink pad colour. It should now look something like this:


6. If you decide to add some patina highlights, rub over some raised bits with your crayon. I chose also to add a little metal embellishment that I also gave the patina treatment, and with that the cover was pretty much done.


10. Now it's time to attach the cover to the pages: I simply folded my leather look cover around the inside pages and then glued the top page to the one side, and the bottom page to the other side. The final step was to cover those pages with some pretty design paper so that it is neat and firmly held in place..


Well, that's it for today's tutorial. We hope you will share your own books and ideas with us on the challenge blog, and meanwhile please take a peep at some of the albums my talented teamies have created and catch up on all the details of our challenge this month. Hope to see you there!
xxxxx


17 comments:
Welcome back Astrid!! Your little notebook is amazing. I love the faux leather cover, it looks so real!! I bet this book came in very handy while you were away. I'm sure you had a wonderful time visiting family down here and I hope you had some lovely weather. It is nice to see you back safe and sound though and now we can look forward to more of your fab creations. Have a great day!! hugs xx
It's lovely to see you again Astrid, I hope you had a wonderful trip. Always love your mixed media projects and all the wonderful texture and interest you incorporate.
B x
Wonderful notebook! Hugs, Valerie
Welcome back Astrid I hope you had a wonderful time away, we missed you.
I love your little note book and to think it has been on it's travels across the other side of the world with you, such a handy little size and a perfect signature to hide inside other note books. I hope you filled it with lots of memories and ideas of the day.
Creative hugs and *Welcome back again* Tracey xx
Your faux embossed leather looks splendid - I love the touches of blue-green within the aged texture, echoing the lovely dragonfly charm. The simple binding is clever - always good not to have to do any stitching! Lovely to have you back.
Alison x
This is beautiful Astrid. I think you know how to use rust to its maximum effect. Hugs-Weika
Dear Astrid, a beautiful, book, with the gorgeous way of creating ,the kind of leather look- which is simply stunning. Also a great way of binding - so much easier I`m sure .
So lovely you are back, friend.
Hugs, Dorthe , xx
Wow Astrid, your faux leather looks so realistic, aged and very beautiful! Thanks for the great tips, I will definitely try that way of making signatures. Lovely to have you back home too! Hugs, Anne xx
You made a beautiful notebook cover. I'm sure it will be full to the brim with wonderful memories from your trip. Its good to see your posts again .
Yvonne xx
This really does look amazing Astrid! I hope to try this method soon! Chrisx
Your faux leather tutorial is wonderful. Thank you for sharing this. I definitely want to give this a try. My favorite is your patina touches and the embossing in the background.
Kate
A wonderful tutorial and something I'm keen to try, as the results are outstanding. How lovely to have your own journal with you on your travels - a gorgeous keepsake of your time away. I always learn something new from your blog. Thanks for sharing.
The faux leather look on this notebook look fabulous and I do like the binding method you used.
Lovely to see you back safely.
Avril x
WOW - what a beautiful book and a great technique. Never heard of using glycerin but will definitely try it. Thanks for the inspiration.
Your journals are always a delight to see! I love the texture on this one!
Beautifully done Astrid! Thanks for the simple and concise tutorial. It makes me want to go create one just like it! ~Heather
Astrid, I'm so happy to hear that your trip was a success. I'm sorry for getting around late, but was dealing with sickness and things are finally on the upside. I'm in love with your idea of making this journal. The pages are great and exactly my favorite choice for writing. The cover is truly a work of art! It's amazing to have you on the team and see your creativity on display. Thank you my friend! Hugs, Autumn
Post a Comment