Hello all and thank you for your visit today, always so much appreciated.
Today I am sharing a second tag and some photos of a crafty get together I had while over in Australia.
Here first of all, is my tag. If you missed number 1, just scroll down.
The base of this one was done with the help of some extra thick gesso and a mix of acrylic paints.
I dabbed some kitchen roll over the centre bit just before the gesso and paint had dried. That lifted the paint and gave it the shabby effect. Not really what I had planned, but I quite like the result, one to remember...
The next layer was created by dry brushing some paint over the textures. I also did some background stamping with white gesso and a crackle stamp and a small text stamp stamped in black archival.
Here's a close up of some of the textures and below the finished tag, embellished again with some Calico Craft Parts and a flower and some strips of tissue tape..
Now, as mentioned yesterday already, I had a wonderful day meeting up with crafty friends. These kind ladies took me out for a wonderful day exploring Hahndorf, shopping, eating, lots of laughter and we all exchanged some crafty gifts we had made for one another.
Below a photo of the 5 of us together
From left to right: Margaret, Heather, me, Helen and Adriana. I will show you the gifts I received below, but here are some photos still of each of us writing messages in the gifts we received, - such a lovely memory and keepsake.
And here finally the wonderful gifts I received:
A stunning, multi layered tag from Heather. You can see many more photos of this beauty
on her blog
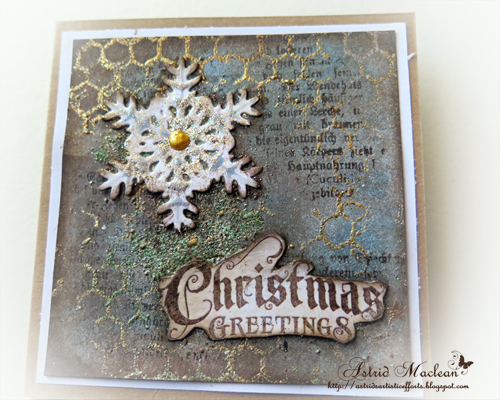
This beautiful textured card was from
Adriana, I just love the vibrant colours and pretty embellishments
And finally, this amazing little folder was made by
Margaret, she did one for each of us, just incredible. It is her own design, but a bit like Tim Holtz's file folders, just smaller and with loads of pockets and photo mats. Below a picture of one of the inside pages:
She made it specially so that we could keep the photos of this special day. I am completely in awe of the clever design of this. Margaret has promised she will do a post one day of how she made it. Meanwhile she did a beautiful description of our special day with extensive photos of our projects. She is a much better photographer than I am, so if you are interested, do check it out, - just click
HERE
Well, that's it for today, thanks for dropping by and happy crafting!!


 This beautiful textured card was from Adriana, I just love the vibrant colours and pretty embellishments