Hello dear blogfriends, thanks for dropping by here.
Today I am super exited to share not just a new project with you but also to announce the starting of a new and exciting venture.
Some of you may have heard this already, but I am just so happy to tell you that after the sad destruction by fire of the wonderful Calico Crafts shop, they have now re-started under a new name and are concentrating on making their wonderful
Calico Craft Parts. There are new and exciting designs appearing almost every day, you can check them out
HERE
I was lucky enough to be invited back on their Design Team, and here is my first project, showing some of these fantastic new designs (and using some old ones too):
With so many new designs, of course I needed a place to keep them, so decided to alter a box for my first project to keep them all in.
The parts I used in this project were:
Ornate Keys (set of two) and the
Fleur de Lis Decorative Woodshapes. I also used the frame in which the adorable
little hearts come. Of course I used the hearts themselves too, but those will be shown in a future project.
Now I'll give you a quick step by step on how I altered my box and rusted up the craft parts:
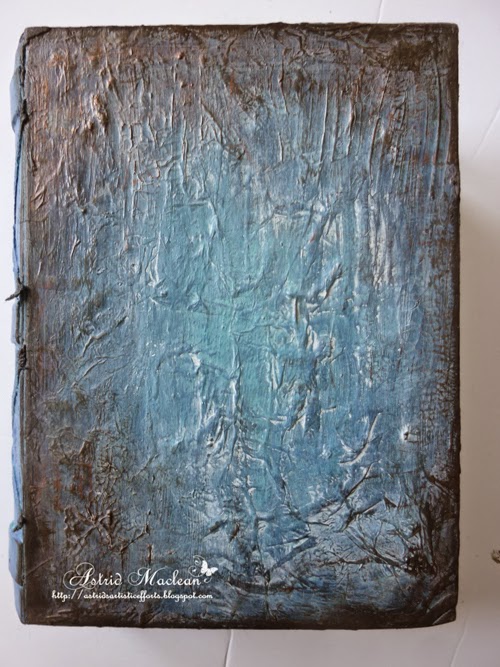
I started with a plain paper mache book box and covered it with strips of tissue paper for texture:
Next I added a layer of Gesso, added some Decoart Crackle paint and then coated everything with a coat of Decoart Chalky Finish Paint in the colour Serene (light blue).
.
The spine of my box had some strips added already, but I decided to add some more decorative elements to them, so I added some hessian ribbon:
Then the aging process began. First some different colours of Blue Decoart Media fluid acrylics
Then some Burnt Umber and Paines Grey Media fluid acrylics
And finally several layers of Antiquing Creams, both in white and Verdigris. I also highlighted the raised bits with Treasure Gold in the colour Onyxite, which looks great in real life, but was impossible to capture properly in my photos.
Here is what the spine looks like now:
Now to the Craft Part. They come looking like this:
Pretty gorgeous already, I love the burnt edges, and of course could have left them like this. But I wanted a rust effect for this project. So I first coated them with Decoart Media Texture Sand Paste, followed by Quin. Gold and Quin Burnt Orange applied in patches.
.
Next they were darkened with Burnt Umber and then Antiques with Antiquing Cream in Verdigris:
Here is a close up of one of the keys:
The heart backing and the little hearts were all given the same treatment and then adhered to the box:
I fastened the keys to their backing with a bit of rusty wire:
The back and inside were all done in a similar way also, but as this post is long enough as it is already, I'll leave it with that.
For the moment Calico Craft Parts does not have a blog yet, so the DT are showing projects on their own blogs, but you may want to check out their
Facebook page and
Pinterest Boards, to see many inspiring examples of how these Craft Parts can be used.
Thank you for visiting like always and have a wonderful week!!