Sunday, 10 February 2013

A fun game

Hello everyone and welcome to you all!!
Today I am sharing a tag card with you which I made for a fun pay- it- forward game on Facebook recently. This was the text of the original post: 2013 creative pay-it-forward, the first 5 people to like this status will receive a present from me at some point over the next 12 months. It could be a card, a tag or something altered, but definitely crafty. There will likely be no warning and it will happen whenever the mood strikes me. The catch is those 5 people must make the same offer in their Facebook status.
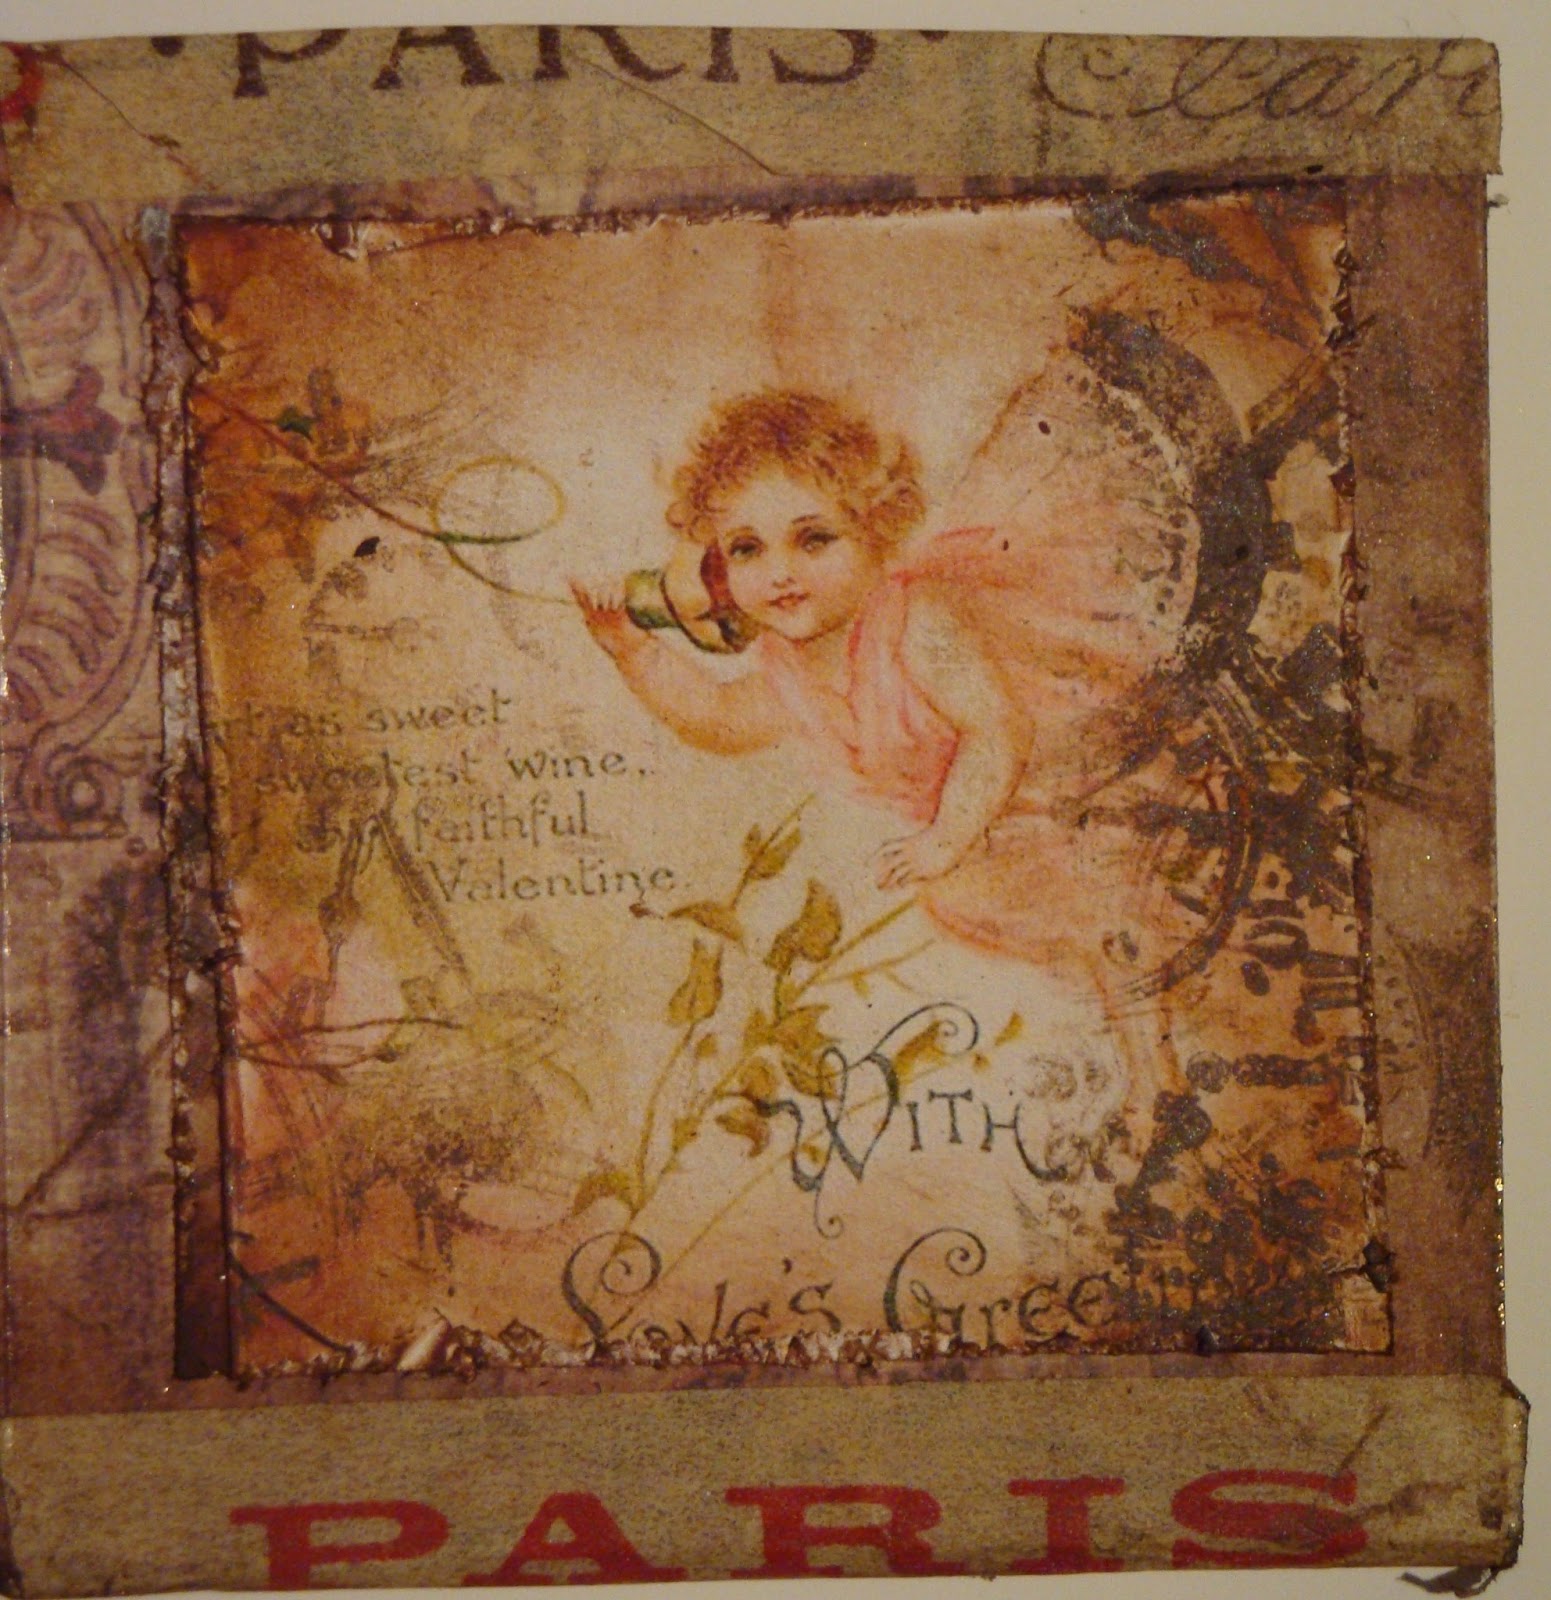
Well, there you have it. The mood struck me today, so here is the first project, created with a #10 size tag, inks, texture fades and stamps mainly from Tim Holtz with one or two others thrown in for good measure. Now the question will be, who of the first 5 commenters will get it???
Inside the tag


this is the back of the tag and below you can see some detail still.


Well, here's hoping that whoever I decide to send this to will like it. Thank you for visiting and a very warm welcome to all my new followers!

Friday, 8 February 2013

Exiting News!!


Hello everyone and welcome (for the second time today...). It is not often you'll find me posting twice in one day, but I have some exciting news to share and also a little project to show.
Some of you regulars here have heard me mention Nicecrane Designs a few times in the last few days. Well, the lovely Ignacio has invited me to become part of his Design Team, and so I want to share with you a little project I just finished using some of his gorgeous images. The images I have used for this little book are from the Romantic Valentine Collection 1 & 2
I also used loads of different stamps (I am on a bit of a mission to use more of my stamps, specially those that have been gathering dust for a long time. This means that in many cases I cannot tell you where they came from or who made them....)
The basic booklet was made out of 1 sheet of 12 x 12 scrapbook paper. It is the so called W booklet. Tim Holtz has a tutorial on his blog and reminded everyone two days ago. If you click on his name you'll go straight there. It's quick easy and a lot of fun. The booklet has 6 pages and three pockets.
I'm going to let the photos tell their own story (beware there are quite a few of them....☺)
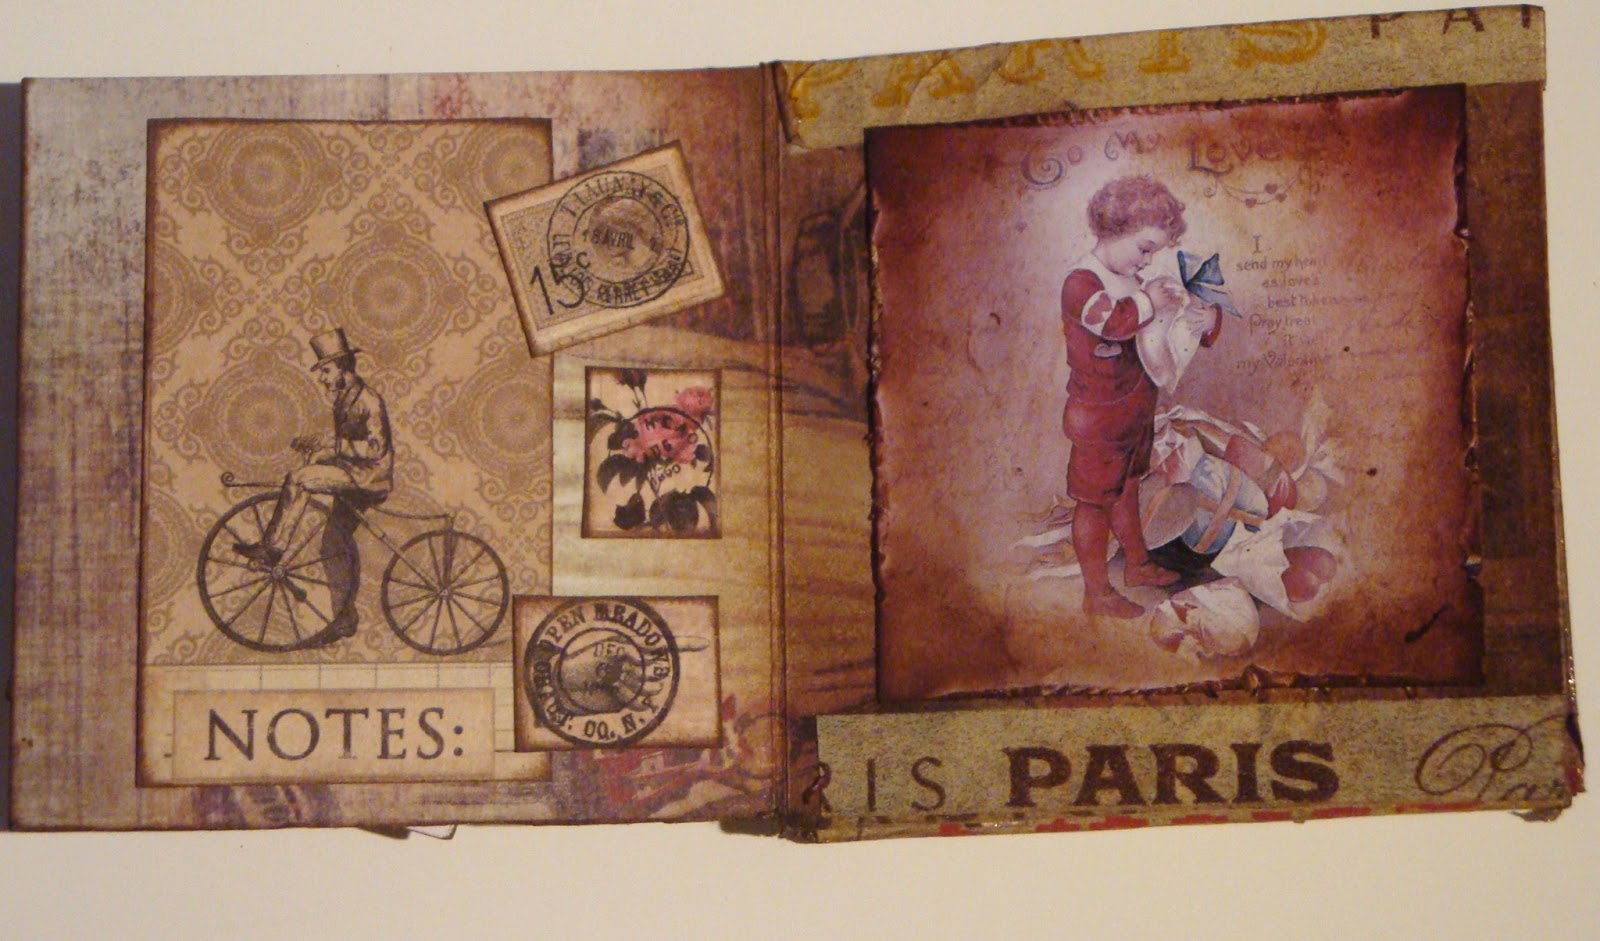
This is the first double page. The image on the right is from Nicecrane, the left page is made up of collaged elements from the Prima Romance Novel 6 x 6 collection. Here are a couple of close ups

Next double page, again the right side is a Nicecrane image, the left side was stamped and collaged over the paper I used to make the booklet.
And here the left and right side separately:


For the next double page, both sides were stamped and collaged with a few little images from the Romance Novel collection. The top hat was a stamp I found in Michael's Dollar Bin a couple of years ago when visiting the States.
And here is the last double page:
Same story, Nicecrane image on the right and collage and stamping on both pages.

I just realized I forgot to photograph one of the double pages, - how stupid is that? Unfortunately my battery is flat, so this will have to do. Below are the tags that fit inside still. They were all collaged and stamped with bits and pieces from my stash. The stamps I used here are from Artistic Outpost and Kaisercraft.

Well, I hope you enjoyed this little project and I'll leave you with a photo of the booklet with the tags inside. Thank you for visiting and see you next time.

Valentines Valentine freebies

Hello everyone and welcome!
Well after last week's freebie I received so many comments, - I can only hope you like these ones too ☺
Can you believe it is Friday already again? Time has wings at the moment.

Here is this week's freebie offering, - a sheet with some bookmarks, some little heart tags and some tickets.
For the bookmarks I used elements of the wonderful Vintage Bookmarks Factory designed by Ignacio of Nicecrane Design and then I added some image freebies from here and there collected over the years. The tickets are my own design. In this post you can see some bookmarks I made with Ignacio's images.

Here are the elements of this week's sheet as separate files, - enjoy....


Thank you so much for visiting and see you next time!

Wednesday, 6 February 2013

Three Bookmarks

Hello everyone and welcome. Sorry for the boring post title but I could not think of anything better and what I am showing are indeed three bookmarks...

I had been admiring the lovely images from Nicecrane Design on my travels through blogland for a while now and a couple of days ago decided to order some. And then the lovely Ignacio even send me some more free ones, so of course I had to start making things. To make these I played with several of his sheets and put them together in Photoshop Elements. I printed them out and then came the fun of inking colouring and embellishing. I also ran parts of them through a Tim Holtz embossing folder for added texture.


  These two were put together with the help of the Talking Clock pack and the Vintage Bookmark factory. The images were coloured already, I just blended them in and inked around them with various colours of Distress Inks.


The picture in this one came in Black and White and I coloured it with Distress Markers and Inks.
Well, hope you like them, and if you don't know Nicecrane Designs, check it out, - there is so much choice and they are really reasonably priced too.

Monday, 4 February 2013

Once Upon a Fairytale

Hello everyone and welcome here, thank you for visiting and like always, a special welcome to all my new followers!
Well, after having been selected one of the top three at SSSS I had to join in again of course. This week the theme is "Ever After", they want us to use a fairy tale theme. So here's my make
I created a book cover which I hope has a fairy tale feel to it. I used the Tim Holtz book plate stamp and two stamps from the Graphics 45 Once Upon a Spring Time collection. I love how these stamps just seem to blend in perfectly with the book plate. I stamped the bookplate in Black Archival and then coloured over it with Chipped Sapphire, Vintage Photo, a tiny bit of Peacock Feather, Wild Honey and Mustard Seed. I then stamped the two G45 stamps, fussy cut them and coloured them with a mix of distress inks, Distress Markers (scribbled onto my craft sheet and then picking up the ink from there with a water brush- : this seems to work much better for me than using the direct to paper technique). I also used some water colour pencils to high light some areas and spritzt wild Heirloom Gold perfect pearls. Finally the inevitable Treasure Gold White Fire was rubbed around the edges and then I embellished with some flowers etc and mounted on some green card, again, distressed and gilded like the card itself. I created a spine for the card, so it looks like a book cover and I may well make some insert pages for it at some future point. Here are some more photos:
Here you can see the fairy a bit better, in real life there is much more sparkle

The title, I love how this bit just  seems to fit the title part of the book plate, - as if it was made for it.


Well, that's it. Hope you like it.... The colours are a bit dark, more like Autumn than Spring, I probably should have stamped the book plate in a different colour.... Ah well, you live and learn.... ☺

I am entering this for this week's Simon Says Stamp and Show

Sunday, 3 February 2013

Love Wish and Dream tag and holder


Hello everyone, welcome and thank you for visiting. I want to start by saying thank you to all the wonderful comments you have left me over the last few days, - you are all so much appreciated!
Today I have a tag to share with you and a little bag to hold it. I love these little paper bags as they are so versatile, just the right size to hold a tag and fun to decorate. Just in case you are interested, as I often get asked about these things, - I found mine here:
I coloured my bag, both front and back with Peacock Feather and Chipped Sapphire Distress inks mixed with some Adirondack Coffee Die ink. I then decorated the front and back with various Tim Holtz stamps. The little ticket is my own design and will probably come your way with Friday's Freebie. The tag was made in a very similar way and of course everything was embellished with some ideaology bits and pieces.
here are some details:
back of tag


front of tag


back of tag

Hope you have enjoyed this little project, created just for fun, and see you next time.
I'm entering this into the Happy Daze Love is all around challenge
Sugar Creek Hollow, where the theme is Romantic Love

Friday, 1 February 2013

Friday Freebie Everybody Loves Roses


Hello everybody and welcome! Today I have some papers for you which you can use for Valentines projects if you want. Enjoy!


In the post below here you can see two cards I made using some of these bits.
Thanks for visiting and see you next time.
Related Posts Plugin for WordPress, Blogger...

One World One Heart

Photo

FEEDJIT Live Traffic Feed

Birthday Card

Birthday Card
Just got a whole lot of new stamps from a brilliant place called the Stamp Smith. This is the image that I first saw on Docraft and really liked. I asked the friend who has used it in an ATC, where she got it. Well she borrowed it from a friend who got it from ebay as a one off. But.... it had a title. I googled the title, and hey presto found the site. They have great stamps and offer a really friendly fast service. I highly recommend them!

Gothic Arch Trifold inside

Gothic Arch Trifold inside

Back of Gothic Arch Trifold

Back of Gothic Arch Trifold

Gothic Arch Within the Heart

Gothic Arch Within the Heart

Gothic Arch, the Key

Gothic Arch, the Key